Afterthought Heel
I had promised a pair of hand knit socks for my friend Peter, so when
inspiration struck a few weeks ago, I decided to challenge myself by
making them with a new kind of heel construction. The yarn I chose is a
self-striping yarn, and making the usual heel flap/turn/gusset type of
heel would totally mess up the self-stripes. So I decided on the
Afterthought Heel first described by Saint Elizabeth Zimmerman, and
subsequently well documented by the likes of the Yarn Harlot and others.
The concept goes like this: knit a tube the full length of the sock -- leg and foot. Put a toe on it. Then go back to where the heel should be, cut into the stitches so that you have live stitches on two needles (or three if that's the way you knit socks), and put another toe there. Voila! A heel! Not very elegant, but it fits well. The bonus is that if it wears out, you can cut the whole thing out and replace it with a new toe... er, heel.
For people like me who turn a little green at the thought of Cutting Into Perfectly Good Knitting, you can cheat a little by figuring out where the heel will go, and when you get there, using scrap yarn to demarcate the heel stitches. Finish the tube with toe, then go back and pull out the scrap yarn, put the live stitches on needles, and knit the other toe-which-is-actually-the-heel.
What follows is not intended to be a full tutorial on how to make an afterthought heel. You'll have better luck with one of the links above. This is just me bragging about having something new actually work out the way I hoped it would.
Want to see some photos? Okay, here goes...

Here I am partway down the leg. When I got to where the heel will go, I used a piece of yellow scrap yarn and knit across 32 stitches (that's halfway across a 64-stitch tube). Then I went back to the beginning of the same row and knit those 32 yellow stitches again with the gray sock yarn. Then I went merrily on my way, finished the tube, and put a toe on it.

Here's the finished tube, with the yellow scrap yarn clearly showing where the heel will go.

Carefully noting the right side of each of the 32 stitches, I used a needle one size smaller and put it through each stitch on one side of the yellow stitches.

Then I did the same on the other side of the yellow stitches, approaching from the other side. (I think this was a mistake, as half the stitches were on the needle backwards.)

Then I carefully picked out the yellow yarn, stitch by stitch, leaving live stitches on both of the needles.

Here's another view of the process, with me holding the stitches a bit apart so you can really see.

When all the stitches were out, here I was with 32 live stitches on each needle (albeit a bit twisted here and there, but it's easy to straighten them while knitting the first row.) I knit three rows with all of the stitches, then started making a "toe," which is really where the heel goes.
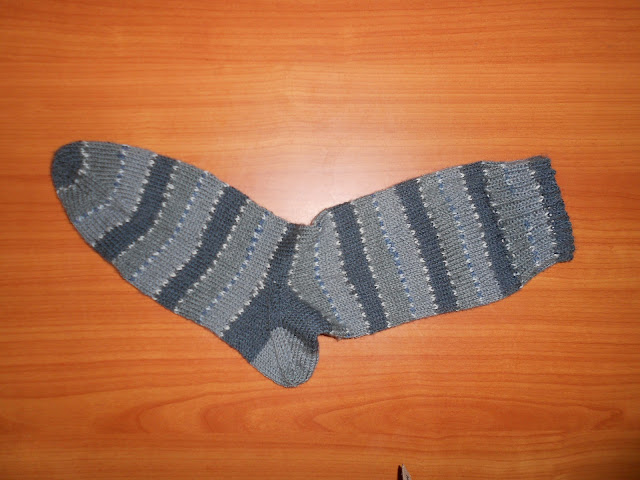
Here's the finished product before blocking, but since it looked the same after blocking, I'm not bothering with another photo. Yes, it's a bit wonky and won't lie completely flat, but it fits ever so well!

The concept goes like this: knit a tube the full length of the sock -- leg and foot. Put a toe on it. Then go back to where the heel should be, cut into the stitches so that you have live stitches on two needles (or three if that's the way you knit socks), and put another toe there. Voila! A heel! Not very elegant, but it fits well. The bonus is that if it wears out, you can cut the whole thing out and replace it with a new toe... er, heel.
For people like me who turn a little green at the thought of Cutting Into Perfectly Good Knitting, you can cheat a little by figuring out where the heel will go, and when you get there, using scrap yarn to demarcate the heel stitches. Finish the tube with toe, then go back and pull out the scrap yarn, put the live stitches on needles, and knit the other toe-which-is-actually-the-heel.
What follows is not intended to be a full tutorial on how to make an afterthought heel. You'll have better luck with one of the links above. This is just me bragging about having something new actually work out the way I hoped it would.
Want to see some photos? Okay, here goes...

Here I am partway down the leg. When I got to where the heel will go, I used a piece of yellow scrap yarn and knit across 32 stitches (that's halfway across a 64-stitch tube). Then I went back to the beginning of the same row and knit those 32 yellow stitches again with the gray sock yarn. Then I went merrily on my way, finished the tube, and put a toe on it.
Here's the finished tube, with the yellow scrap yarn clearly showing where the heel will go.

Carefully noting the right side of each of the 32 stitches, I used a needle one size smaller and put it through each stitch on one side of the yellow stitches.

Then I did the same on the other side of the yellow stitches, approaching from the other side. (I think this was a mistake, as half the stitches were on the needle backwards.)

Then I carefully picked out the yellow yarn, stitch by stitch, leaving live stitches on both of the needles.

Here's another view of the process, with me holding the stitches a bit apart so you can really see.

When all the stitches were out, here I was with 32 live stitches on each needle (albeit a bit twisted here and there, but it's easy to straighten them while knitting the first row.) I knit three rows with all of the stitches, then started making a "toe," which is really where the heel goes.
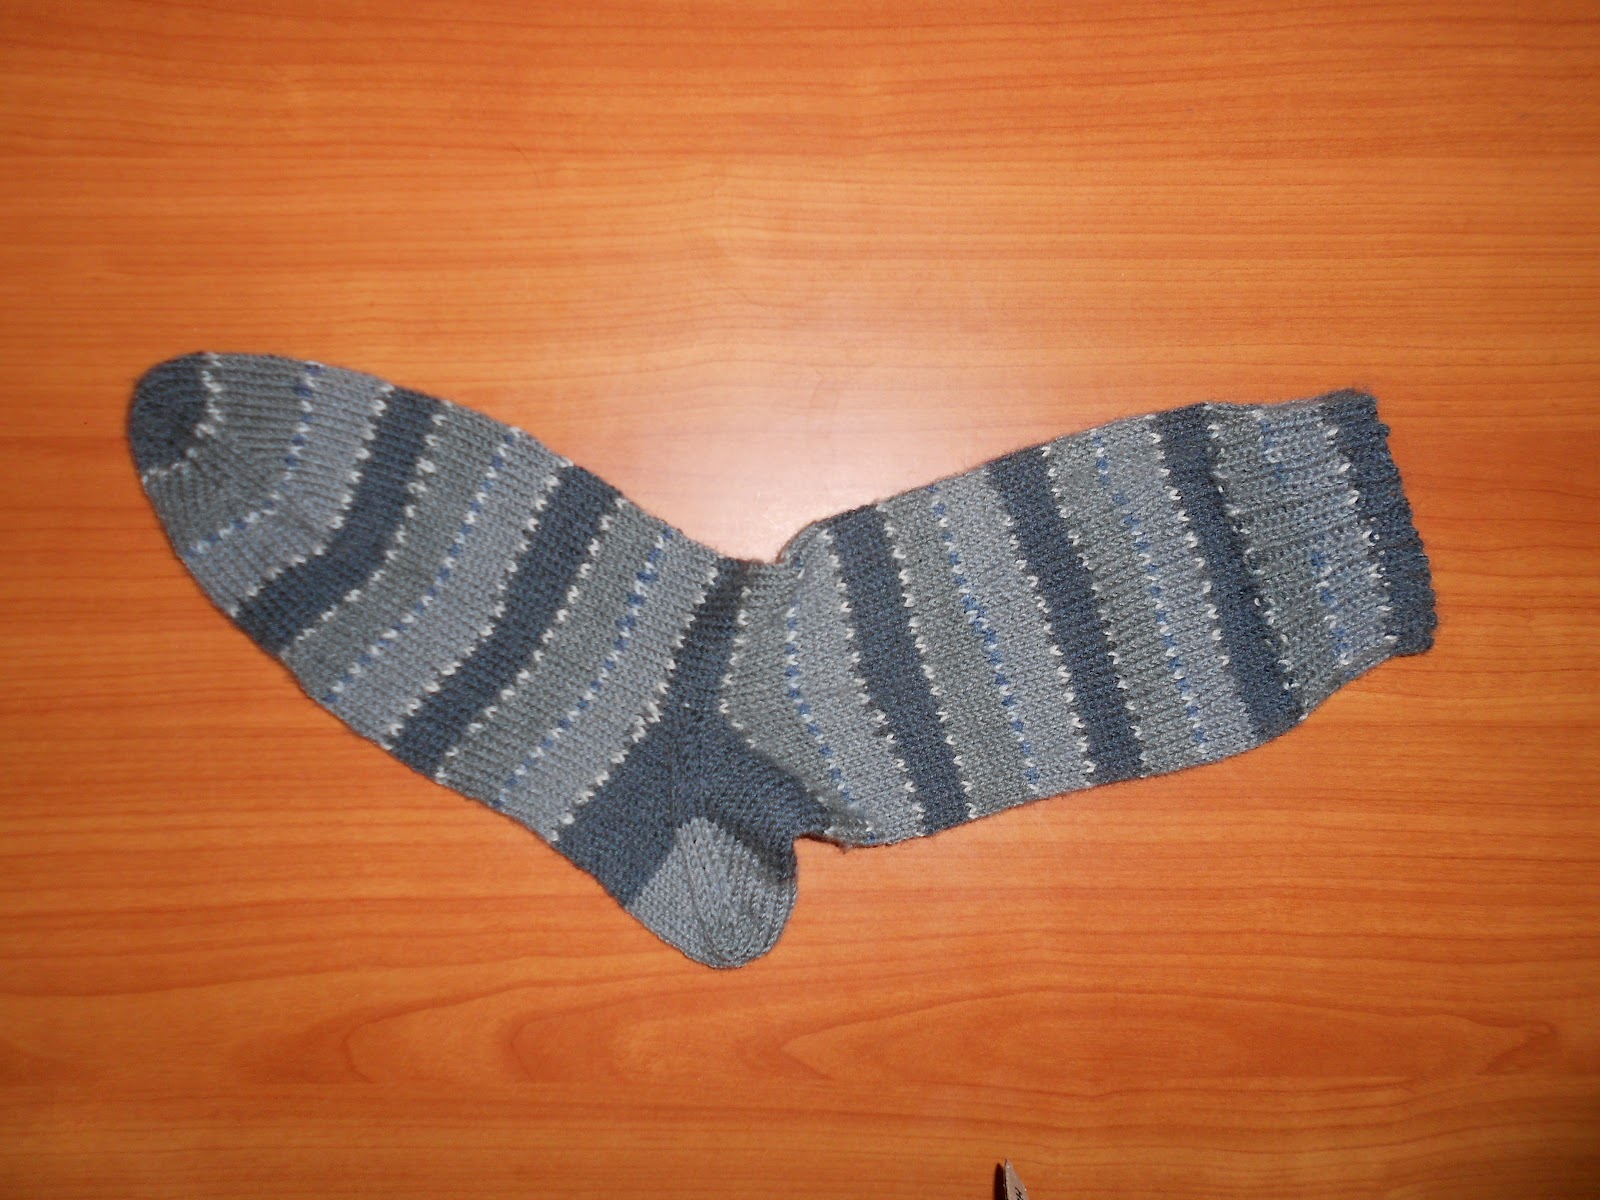
Here's the finished product before blocking, but since it looked the same after blocking, I'm not bothering with another photo. Yes, it's a bit wonky and won't lie completely flat, but it fits ever so well!

I would have preferred that the heel be completely dark gray, but there wasn't enough of that shade left, so I made do with the next-lighter color. So many of the zillions of socks I've made (using the heel flap-and-turn technique) are too big around the ankle; these fit really well, so I think it's definitely a technique worth repeating.
I'm also inspired to try short row heels, which I suspect will fit equally well. Excelsior! And stay tuned...
posted by Judy at 11:41 PM
![]()
![]()

1 Comments:
Beautiful, Jude. Can I have a pair?
Post a Comment
<< Home